
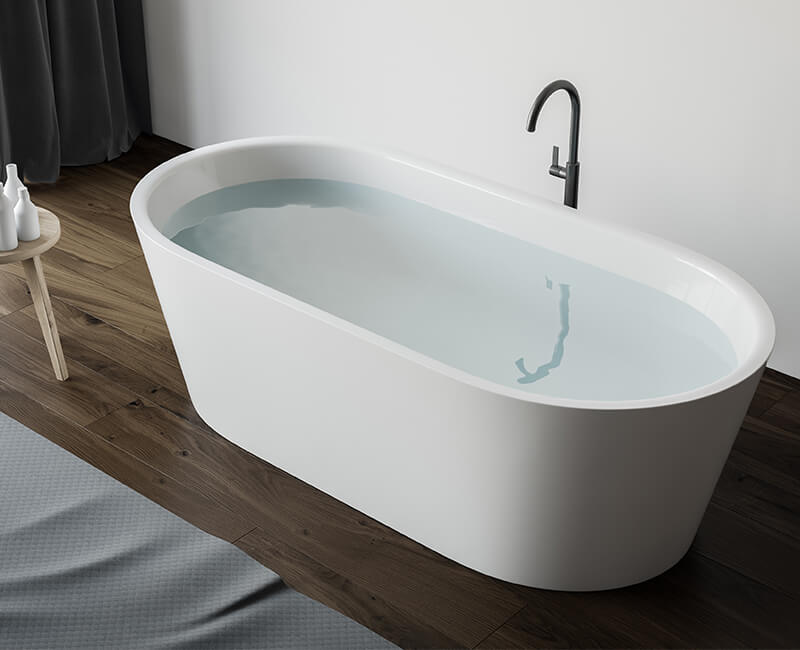
Are you ready to upgrade your bathroom with a luxurious freestanding bathtub? Installing a freestanding bathtub may seem like a daunting task, but with the right tools and a clear plan, it can be a rewarding DIY project. In this guide, I will walk you through the step-by-step process of how to install freestanding bathtub, from preparing the installation area to securing the bathtub in place.
Let’s dive in and transform your bathroom into a spa-like retreat.
Gather the necessary tools and materials
Before you begin the installation process, it’s essential to gather all the tools and materials you’ll need. Here’s a list of items you’ll want to have on hand:
– Adjustable wrench
– Screwdriver
– Level
– Silicone sealant
– Plumber’s putty
– Pipe wrench
– Tape measure
– Freestanding bathtub
– Drain and overflow assembly
– Water supply lines
Prepare the installation area

Measure the space
Start by measuring the space where you plan to install the freestanding bathtub. Ensure that the area is large enough to accommodate the bathtub and that there is sufficient clearance for access and maintenance.
Check the flooring
Inspect the flooring to ensure that it can support the weight of the bathtub and occupants. If necessary, reinforce the floor to provide a stable foundation for the bathtub.
Position the bathtub

Place the bathtub in the desired location
Carefully position the freestanding bathtub in the desired location, taking into account the plumbing connections and access to the drain and water supply lines.
Level the bathtub
Use a level to ensure that the bathtub is perfectly level and stable. Adjust the positioning as needed to achieve a balanced and secure placement.
Connect the plumbing

Attach the drain and overflow assembly
Follow the manufacturer’s instructions to attach the drain and overflow assembly to the bathtub. Use plumber’s putty to create a watertight seal around the drain and overflow fittings.
Connect the water supply lines
Connect the water supply lines to the bathtub, ensuring that they are securely fastened and leak-free. Use Teflon tape to seal the connections and prevent leaks.
Secure the bathtub in place
Apply sealant around the edges
Apply a bead of silicone sealant around the edges of the bathtub to create a watertight seal and prevent water damage.
Test the stability of the bathtub
Once the bathtub is in place and the plumbing connections are secure, test the stability of the bathtub by applying pressure to different areas. Ensure that the bathtub does not wobble or shift.
Finish the installation

Fill the bathtub with water and check for leaks
Fill the bathtub with water and check for any leaks around the drain and water supply connections. Address any leaks immediately to prevent water damage.
Seal any gaps or seams
Inspect the area around the bathtub for any gaps or seams, and seal them with silicone caulk to prevent water infiltration and maintain a clean, finished look.
Enjoy your new freestanding bathtub
Congratulations! You have successfully installed your freestanding bathtub. Now it’s time to sit back, relax, and enjoy the luxurious comfort of your new bathtub. Whether you’re soaking away the stresses of the day or indulging in a spa-like experience, your new freestanding bathtub is sure to elevate your bathroom to a new level of luxury and relaxation.
FAQs on How To Install Freestanding Bathtub
-
Are freestanding tubs hard to install?
Installing a freestanding bathtub or any kind of bathtub is not a difficult task if you have a sophisticated guide on installing a freestanding bathtub in your bathroom. Aside from getting the freestanding bathtub to your bathroom, you can do all the work without paying a plumber. Jul 22, 2022
-
What holds a freestanding tub in place?
Once your floor is cleaned and dry, run a large bead of caulk around the bottom base of your bathtub and stand it upright. Run another large bead of caulk around the bathtub to fully secure it to the floor. Once the caulk is dry, you can wipe away any excess with a damp cloth.
-
How are freestanding baths installed?
Start to install a bathtub Apply a generous bead of adhesive or silicone to the bottom of the tub supports. Then apply a bead of tub and tile caulk around the edge of the base. Carefully set tub into position and connect the drain hardware (previously installed). Finish the installation of the tail-piece installation. Nov 17, 2021
-
What are the downsides of a free standing bath?
CONS: Freestanding tubs can be extremely more expensive than built-in tubs. Complex design and materials. Heavier & may require a reinforced bathroom floor. Storage can be an issue without a ledge for keeping bath products. The larger size can create difficulties with placement. Bathing children or pets can be more difficult.
Originally posted 2023-07-14 09:33:20.