Avoiding Common Mistakes in Bathtub Installation: Expert Advice for DIYers
Proper bathtub installation is crucial for a functional and long-lasting bathroom. A well-installed bathtub not only enhances the aesthetic appeal of the space but also ensures safety and comfort for the users. Today, let’s talk about the Bathtub Installation Guide.
Whether you are renovating your bathroom or building a new one, it is essential to pay attention to the installation process to avoid common mistakes and ensure a successful outcome.
A bathtub is an essential fixture in any bathroom, and its installation should not be taken lightly. A poorly installed bathtub can lead to a range of problems, including leaks, instability, and even structural damage.
It can also result in costly repairs and renovations down the line. By investing time and effort into proper installation, you can avoid these issues and enjoy your bathtub for years to come.
Common Mistakes in Bathtub Installation: A Brief Overview
There are several common mistakes that homeowners make when installing a bathtub. One of the most common mistakes is improper measurement of the bathroom space. Failing to accurately measure the space can result in a bathtub that is either too big or too small for the area, leading to difficulties in installation and an unbalanced look.
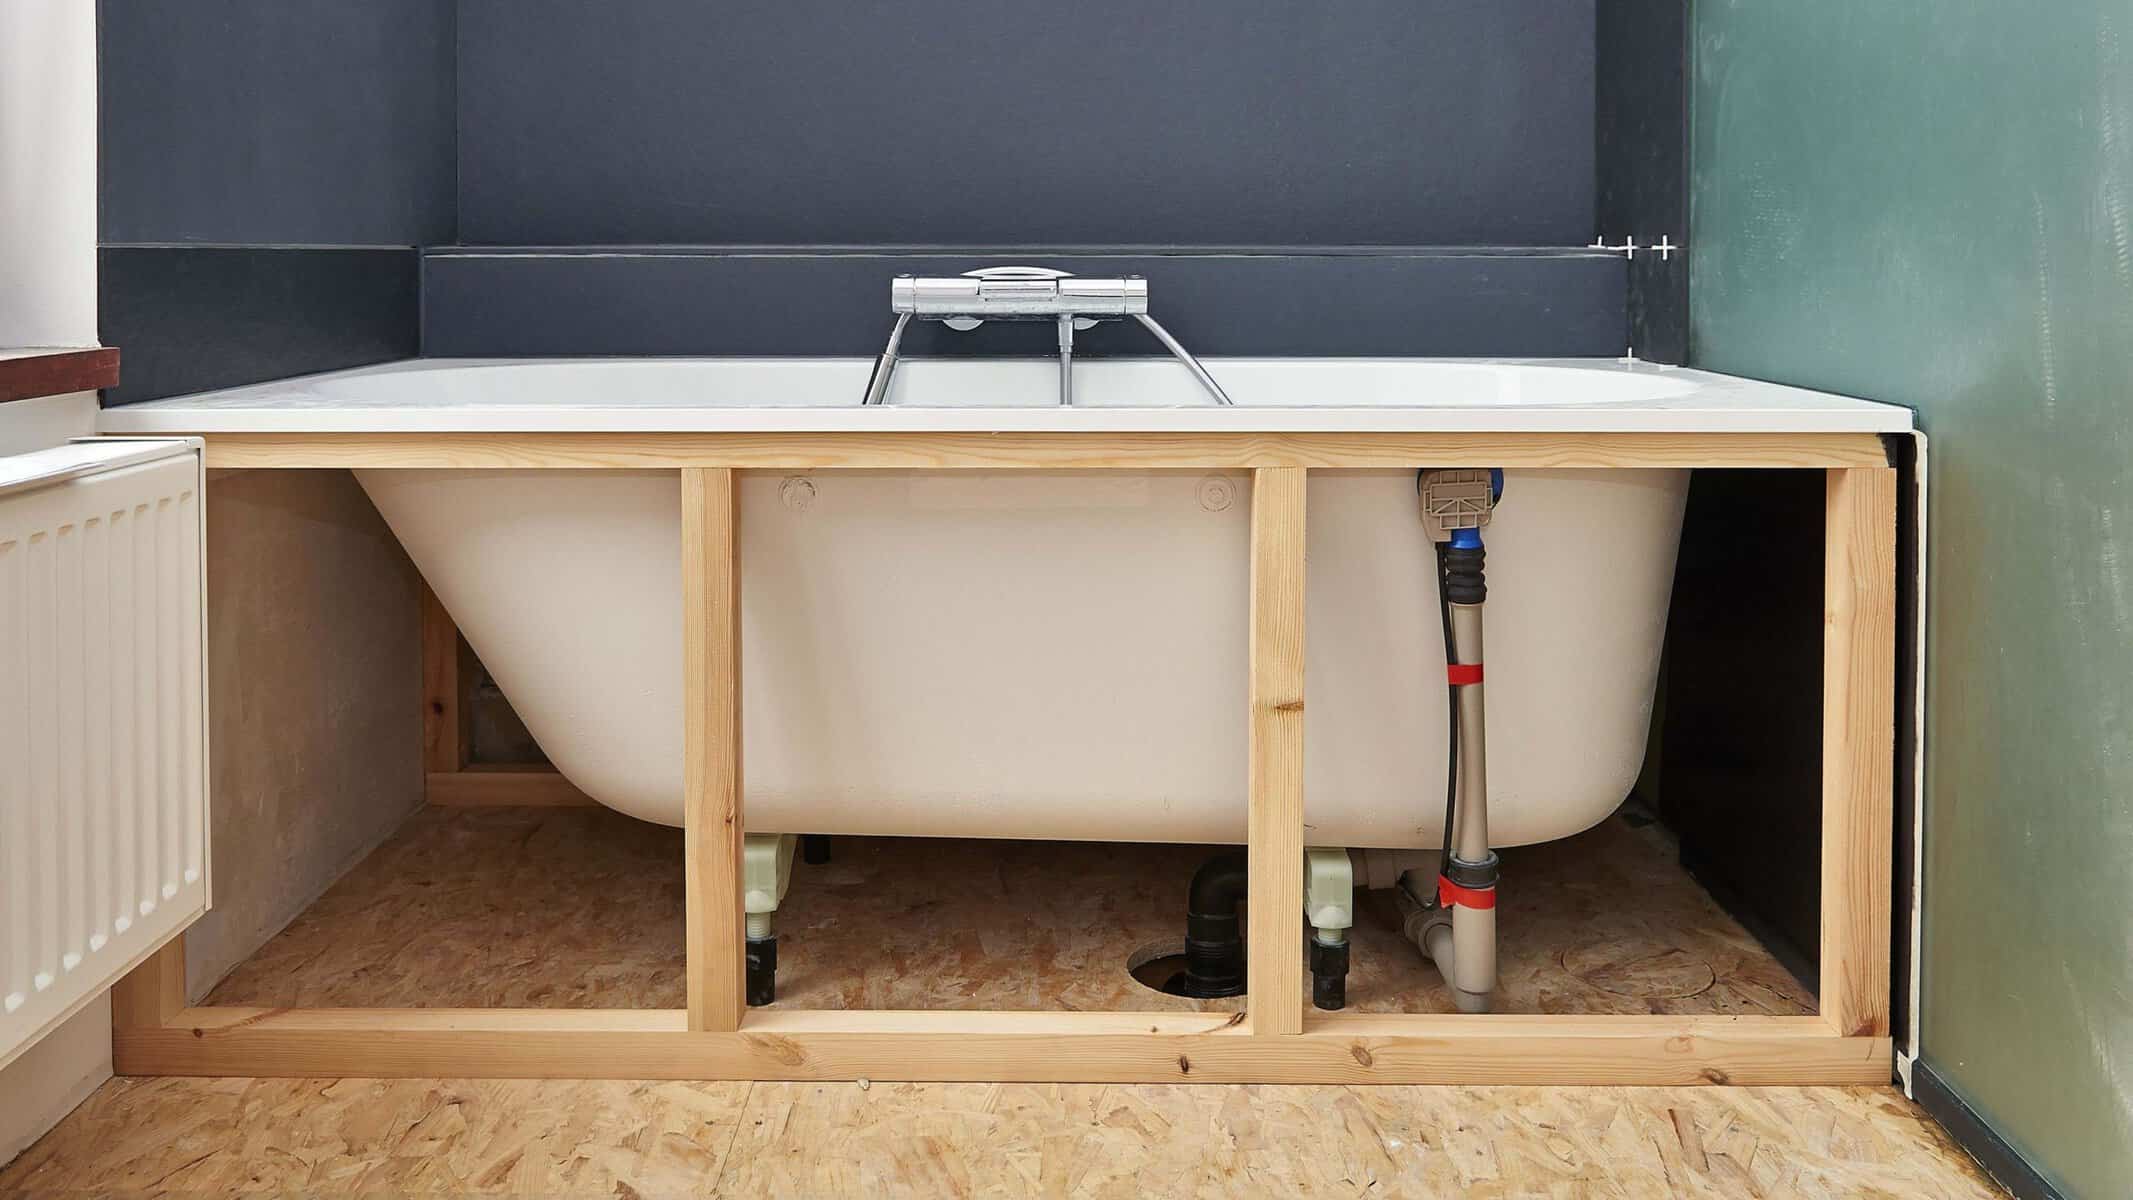
Another common mistake is neglecting to properly prepare the bathroom space before installation. This includes ensuring that the floor is level and stable, as well as making any necessary repairs or adjustments to the plumbing system. Failure to do so can result in an unstable bathtub that may shift or crack over time.
Consequences of poor installation can be significant. Leaks can occur if the drain and overflow system are not properly installed, leading to water damage and mold growth. A bathtub that is not securely attached to the wall and floor can be unstable and pose a safety hazard. Additionally, improper sealing and caulking of the edges can allow water to seep into the walls or floor, causing damage over time.
Choosing the Right Bathtub for Your Bathroom
Before beginning the installation process, it is important to choose the right bathtub for your bathroom. There are several factors to consider when making this decision. First and foremost, you need to determine the size and shape of the bathtub that will fit comfortably in your space. Consider the dimensions of your bathroom and any existing fixtures or obstacles that may affect the placement of the bathtub.
In addition to size, you should also consider the style and design of the bathtub. There are various types of bathtubs available in the market, including freestanding, alcove, corner, and drop-in bathtubs. Each type has its own advantages and considerations, so it is important to choose one that suits your needs and preferences.
Other factors to consider include material, features, and budget. Bathtubs can be made from a variety of materials, including acrylic, fiberglass, cast iron, and stone. Each material has its own pros and cons in terms of durability, maintenance, and cost. Features such as jets, whirlpool systems, and built-in seating can also enhance your bathing experience but may come at an additional cost.
Measuring and Preparing the Bathroom Space
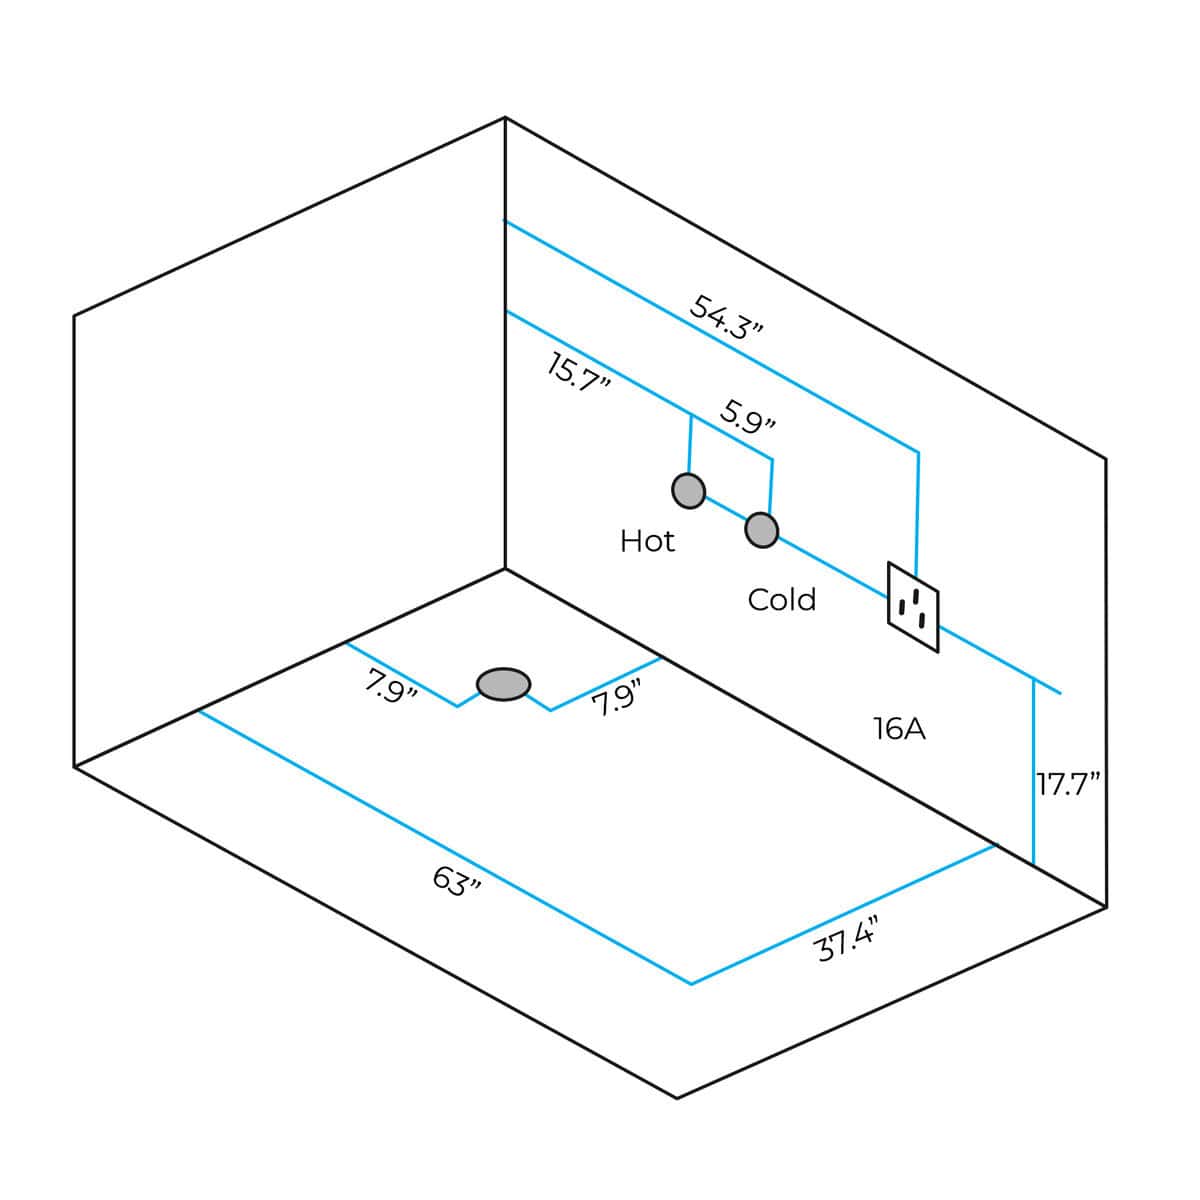
Accurate measurement of the bathroom space is crucial for a successful bathtub installation. Before purchasing a bathtub, measure the length, width, and height of the area where the bathtub will be placed. Take into account any existing fixtures or obstacles that may affect the placement of the bathtub.
Once you have measured the space, it is important to prepare it for installation. Start by removing any existing fixtures or furniture that may be in the way. Next, ensure that the floor is level and stable. If necessary, make any repairs or adjustments to ensure a solid foundation for the bathtub.
It is also important to check the plumbing system before installation. Ensure that all pipes are in good condition and properly connected. If any repairs or adjustments are needed, it is best to address them before installing the bathtub.
Installing the Drain and Overflow System
Proper installation of the drain and overflow system is essential to prevent leaks and ensure proper drainage. Start by assembling the drain and overflow components according to the manufacturer’s instructions. Make sure all connections are tight and secure.
Next, position the drain and overflow system in the designated area of the bathtub. Use a level to ensure that it is properly aligned. Once aligned, mark the position of the drain and overflow system on the bathtub.
Using a hole saw or a jigsaw, carefully cut out the marked area on the bathtub. Be sure to follow the manufacturer’s instructions and take necessary safety precautions when cutting.
Once the hole is cut, insert the drain and overflow system into the opening. Secure it in place using the provided hardware. Test the system by filling the bathtub with water and checking for any leaks or drainage issues.
Leveling the Bathtub for Stability
Leveling the bathtub is crucial for stability and proper functioning. Start by placing a level on top of the bathtub rim. Adjust the height of the bathtub by adding shims or adjusting the feet until it is perfectly level in all directions.
Once the bathtub is level, secure it in place using screws or brackets provided by the manufacturer. Be sure to follow the manufacturer’s instructions and use appropriate tools for this step.
Securing the Bathtub to the Wall and Floor

Securing the bathtub to both the wall and floor is important for stability and safety. Start by positioning the bathtub against the wall, ensuring that it is properly aligned with any existing plumbing fixtures.
Using a pencil, mark the position of any mounting brackets or screws on both the wall and floor. Remove the bathtub and drill pilot holes at each marked position.
Next, reposition the bathtub against the wall and align it with the pilot holes. Secure it in place using screws or brackets provided by the manufacturer. Repeat the process for the floor, ensuring that the bathtub is securely fastened.
Sealing and Caulking the Edges of the Bathtub
Sealing and caulking the edges of the bathtub is essential to prevent water damage and ensure a watertight seal. Start by cleaning the edges of the bathtub and the surrounding area to remove any dirt or debris.
Next, apply a bead of silicone caulk along the edges of the bathtub. Use a caulk gun for precise application. Smooth out the caulk using a caulk smoothing tool or your finger, ensuring that it forms a tight seal.
Allow the caulk to dry according to the manufacturer’s instructions before using the bathtub. This will ensure that it properly adheres and provides a watertight seal.
Testing the Bathtub for Leaks and Proper Drainage
After completing the installation process, it is important to test the bathtub for leaks and proper drainage. Fill the bathtub with water and let it sit for a few minutes. Check for any signs of leakage around the drain, overflow system, or edges of the bathtub.
Next, drain the water from the bathtub and observe how quickly it drains. If there are any issues with drainage, such as slow draining or pooling water, it may indicate a problem with the installation or plumbing system.
If you notice any leaks or drainage issues, it is best to address them immediately. This may involve resealing or caulking certain areas, adjusting the drain and overflow system, or seeking professional help if necessary.
Tips for Troubleshooting Common Bathtub Installation Issues
Despite careful planning and execution, issues may arise during bathtub installation. Here are some tips for troubleshooting common problems:
– If you encounter difficulties in leveling the bathtub, try using additional shims or adjusting the feet until it is perfectly level.
– If you notice leaks around the drain or overflow system, check for loose connections or damaged components. Tighten any loose connections and replace any damaged parts if necessary.
– If the bathtub is not securely attached to the wall or floor, check for loose screws or brackets. Tighten them as needed to ensure stability.
– If you experience slow drainage or pooling water, check for clogs in the drain or overflow system. Use a plunger or drain snake to remove any obstructions.
If you are unsure how to troubleshoot a specific issue or if the problem persists, it is best to consult a professional plumber or contractor for assistance.
Enjoying Your Newly Installed Bathtub with Confidence
Proper bathtub installation is essential for a functional and long-lasting bathroom. By avoiding common mistakes and following the correct installation process, you can enjoy your newly installed bathtub with confidence.
A well-installed bathtub not only enhances the aesthetic appeal of your bathroom but also provides comfort and safety for the users. It eliminates the risk of leaks, instability, and other issues that can arise from poor installation.
Take the time to choose the right bathtub for your bathroom, measure and prepare the space properly, install the drain and overflow system correctly, level and secure the bathtub, seal and caulk the edges, and test for leaks and proper drainage. By following these steps and troubleshooting any issues that may arise, you can ensure a successful bathtub installation and enjoy your new fixture for years to come.
Originally posted 2024-03-09 04:34:44.